
How to Repair a Zipper on a Tent
06/17/2025

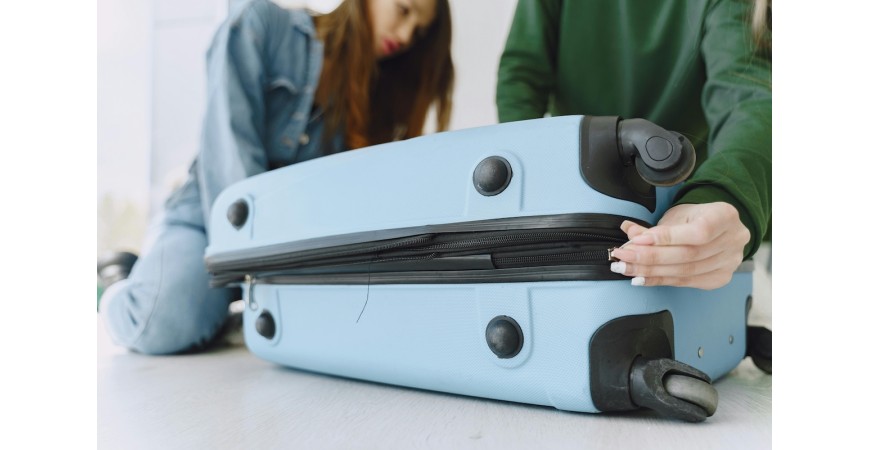
Sure, your suitcase will go through quite a few bumps and thumps will en route between your home and your destination. But whether your suitcase was a bargain or if you really invested some good money into it, hoping it would last for many years to come, a problematic zipper can cause some real headaches.
Fortunately, you don’t need to cancel your vacation plans just because a zipper on your suitcase is acting up. Repairing a zipper on your luggage is actually a very simple and quick process, and we’re going to walk through the steps on this post.
It’s a tough life to be a humble zipper on a suitcase. Besides the grind of going through airport conveyor belts and airplane cargo spaces, a suitcase is also exposed to all the elements of the destination. This could mean coming into contact with sand, saltwater, and many other abrasive elements.
Second, luggage is often stretched to the absolute limit as the owner creatively tries to find ways to find the last sweater or sock into an already overstuffed suitcase. All this pressure over time can do some real damage, or simply weaken the zipper tracks and sliders to the point of failure.
While taking it a little more easy on your luggage can extend the life of your suitcase zippers, we also understand that some bumps and bruises are part of the job. So when it becomes apparent that some zippers have reached the point of failure, you’re ready to move on to the first step in this guide.
Sometimes a zipper can “hang on” for some time even after they’ve been pushed to the limit. But you’ll know that your zipper is about due for a replacement when you start experiencing:
Slipping Teeth: This is when the zipper splits behind the slider, showing that the track is wearing out.
Stuck Zippers: This might be the result of some salt or sand, as mentioned above, that is causing a jam.
Broken Zipper: This is when the zipper repeatedly breaks free of the track.
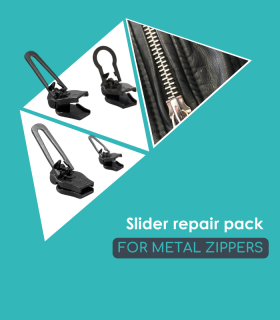
If you’re experiencing any of these issues, it’s time to get a zipper repair kit!
Before you reach for the duct tape, consider the much wiser option of evaluating the zipper repair kits offered by Clip & Zip.
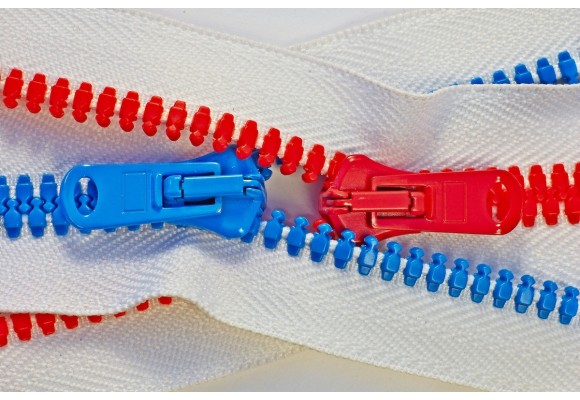
Step one will be to identify the correct type and size of zipper. This is easy enough, as zippers will often come stamped with a number that identifies the size, as measured in millimetres. As luggage typically requires more durable zippers, you can expect a typical zipper size to be shown as something like #8 or #10.
If there isn’t a number clearly printed on the zipper, get a measuring tape and measure the width of the closed zipper in millimetres.
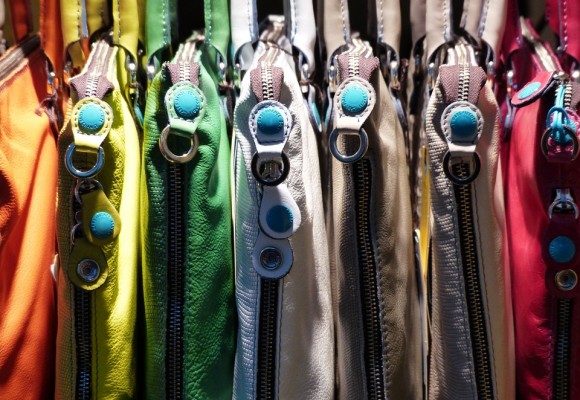
Zippers come in various types of materials, ranging from nylon for lightweight uses to metal for situations where durability is key. You’ll need to take a look at your specific luggage set to determine the right material.
These two pieces of information are all you need in order to jump online and find the right repair kit. Ordering from Clip & Zip is easy and soon enough the repair kit will arrive on your doorstep.
Some scissors and some pliers should be all you will need in order to install the new kit, depending on the severity of the problem.
Simply replacing a slider can go quickly as you remove the old one off the track and replace it with a new one.
Yes, it is! You don't need to have an advanced degree in sewing to get your suitcase back in working condition.
If you have any challenges or questions during the process, you can always reach out to the friendly team at Clip & Zip for advice and support.
Happy travels!

How to Repair a Zipper on a Tent
Finding the Right Clip&Zip Slider for Your Broken Zipper
How to Quickly Repair Your Broken Zipper
Please sign in first.
Sign in